
| 일 | 월 | 화 | 수 | 목 | 금 | 토 |
|---|---|---|---|---|---|---|
| 1 | 2 | 3 | 4 | 5 | 6 | |
| 7 | 8 | 9 | 10 | 11 | 12 | 13 |
| 14 | 15 | 16 | 17 | 18 | 19 | 20 |
| 21 | 22 | 23 | 24 | 25 | 26 | 27 |
| 28 | 29 | 30 | 31 |
- progressive web app
- JavaScript 내장객체
- SpringMVC
- framework
- TodayILearned
- js
- CSS
- Oracle
- sql
- 메이븐
- sqldeveloper
- 생활코딩
- 스프링
- 국비지원
- maven
- HTML
- springaop
- 자바프로그래밍
- 자바스크립트
- mybatis
- 프레임워크
- TIL
- 서브쿼리
- PWA
- web
- 오라클
- 프로그레시브웹앱
- tdd
- javaprogramming
- javascript
- Today
- Total
1cm
자바 프로그래밍_Day_106_Spring AOP / Annotation 본문
2022. 01. 15
java로 이전 실습문제 작성하기

이전 SpringDI에서 작업했던 owner, pet 폴더를 aop 폴더 밑에 복사해준다. -> 패키지명 변경됐으니 수정도 해준다.

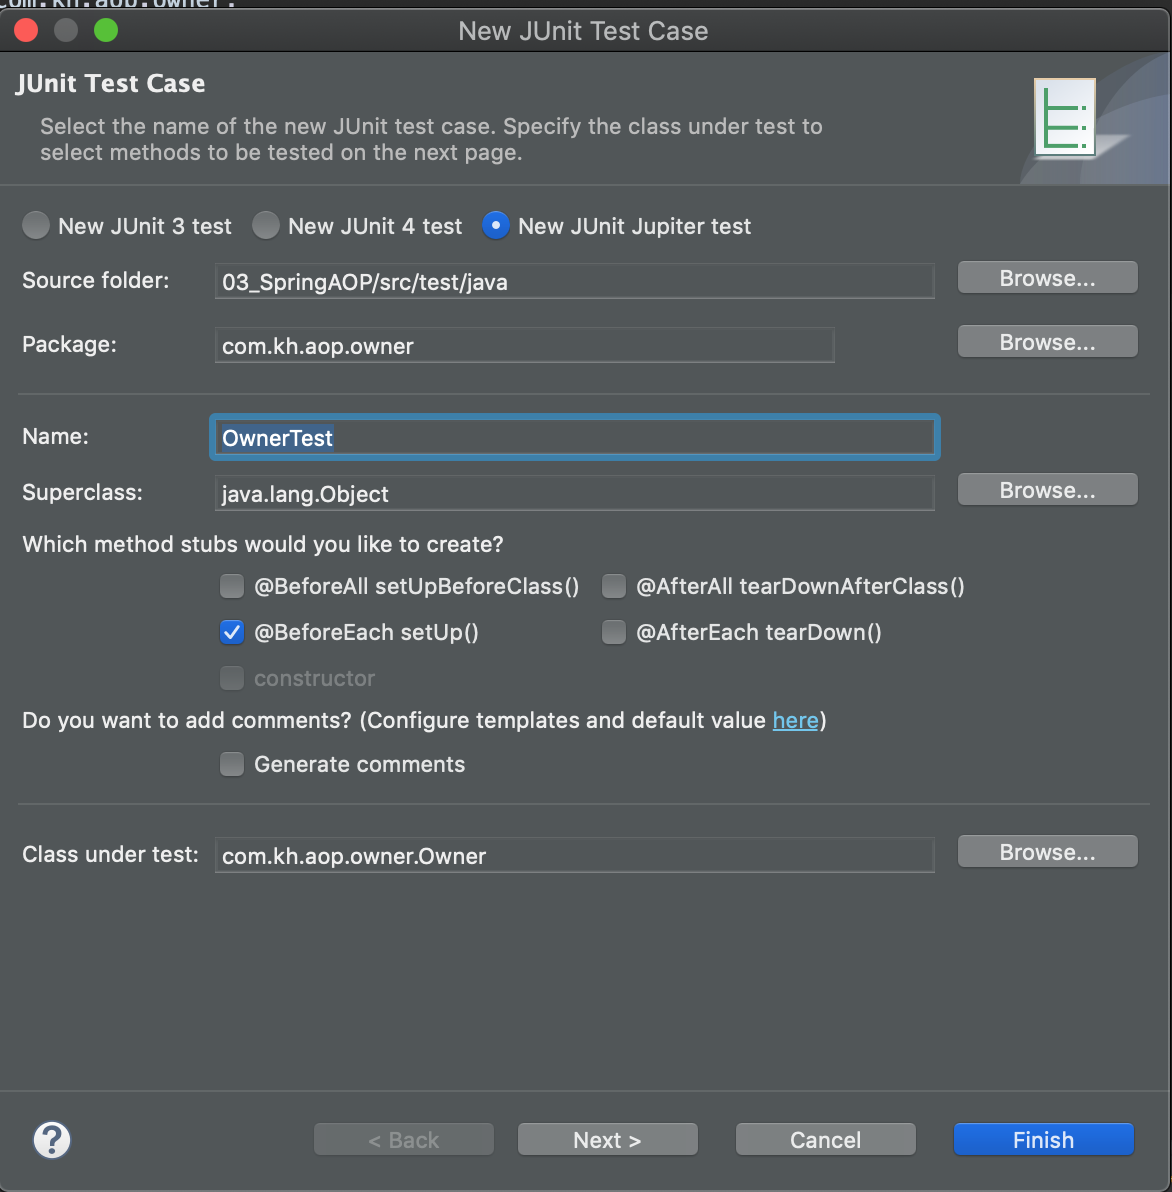
Owner기준으로 테스트 생성
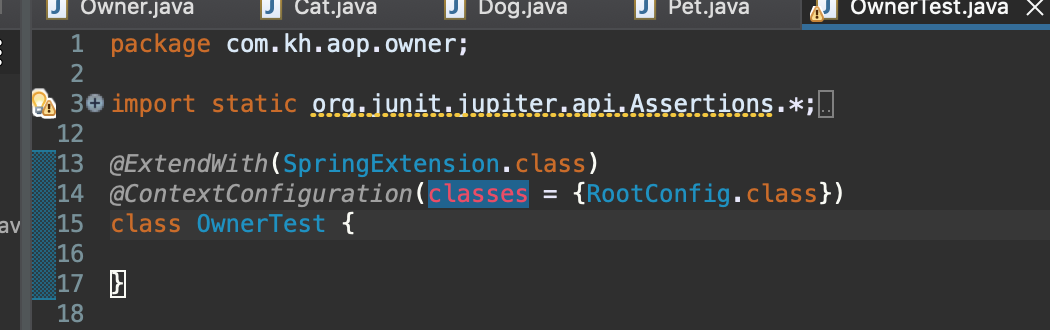
@ExtendWith, @ContextConfiguration 어노테이션 적어주고, RootConfig파일을 만들어준다.

그리고 나서 OwnerTest.java 작성
package com.kh.aop.owner;

import static org.assertj.core.api.Assertions.assertThat;
import static org.junit.jupiter.api.Assertions.*;

import org.junit.jupiter.api.BeforeEach;
import org.junit.jupiter.api.Test;
import org.junit.jupiter.api.extension.ExtendWith;
import org.springframework.beans.factory.annotation.Autowired;
import org.springframework.test.context.ContextConfiguration;
import org.springframework.test.context.junit.jupiter.SpringExtension;

import com.kh.aop.config.RootConfig;

@ExtendWith(SpringExtension.class)
@ContextConfiguration(classes = {RootConfig.class})
class OwnerTest {

	@Autowired(required = false)
	private Owner owner;

	@Test
	public void create() {
		assertThat(owner).isNotNull();

	}

}
@Autowired(required = false)는 최대한 안 넣어 주는 것이 좋다.
빈으로 만들기 -> Owner.java

RootConfig.java


테스트 실행 시 fail -> 기본값으로 대입이 되어서(null / 0) 값을 가져올 수 없기 때문에
Value로 기본 값을 지정해줘야한다.

pet에대한 빈이 없어서 테스트 에러 발생
-> 어노테이션 기반으로 빈으로 만들어준다. (@Component)
package com.kh.aop.owner;
import org.springframework.beans.factory.annotation.Autowired;
import org.springframework.beans.factory.annotation.Qualifier;
import org.springframework.beans.factory.annotation.Value;
import org.springframework.stereotype.Component;
import com.kh.aop.pet.Pet;
import lombok.AllArgsConstructor;
import lombok.Data;
import lombok.NoArgsConstructor;
@Data
@AllArgsConstructor
@NoArgsConstructor
// 애플리케이션 컨텍스트가 붙어있는 클래스를 바로 빈으로 만들어서 보관함 -> Component 후 Componentscan을 설정파일에 지정해줘야한다.
@Component
public class Owner {
@Value("다니엘")
private String name;
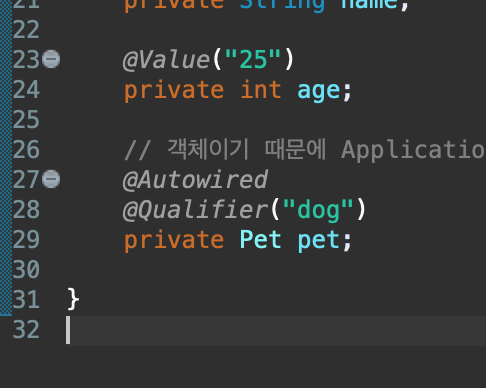
@Value("25")
private int age;
// 객체이기 때문에 Application context에서 주입받는다. -> @Autowired
@Autowired
@Qualifier("cat")
private Pet pet;
}

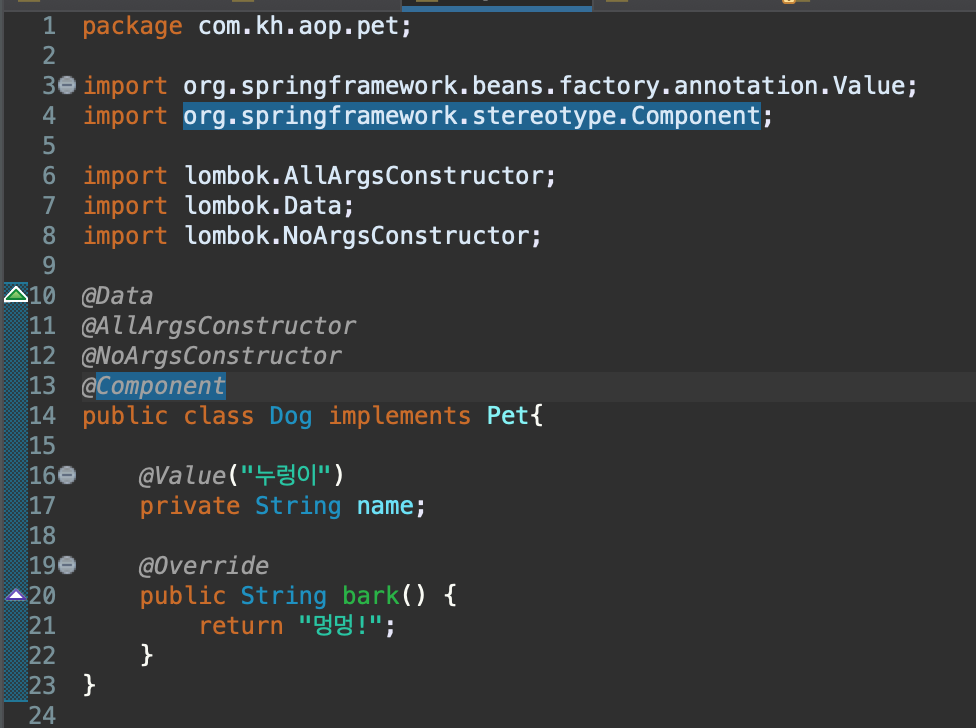
cat과 dog을 빈으로 만들어주고 value값을 지정해줬다.
- 강아지에게 짖으라고 하는 테스트
OwnerTest.java
	@Test
	public void barkTest() {
		assertThat(owner.getPet()).isNotNull();
		assertThat(owner.getPet().bark()).isNotNull();
	}
aspect생성

package com.kh.aop.aspect;
import org.aspectj.lang.ProceedingJoinPoint;
import org.aspectj.lang.annotation.Aspect;
import org.springframework.stereotype.Component;
@Aspect
@Component
public class OwnerAspect {
public void barkAdvice(ProceedingJoinPoint jp) {
String result = null;
try {
// before
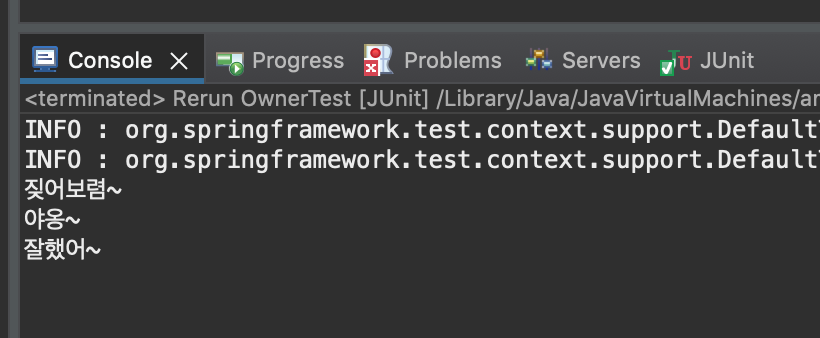
System.out.println("짖어보렴~");
result = (String) jp.proceed();
// after returning
System.out.println(result);
System.out.println("잘했어~");
} catch (Throwable e) {
// after throwing (예외발생시)
System.out.println("왜 안짖니?");
}
}
}proceed를 통해서 실제 타겟 메소드가 호출되고, 리턴값을 받아올 수 있다.
무수히 많은 JoinPoint 중에서 Pointcut을 지정해주기
package com.kh.aop.aspect;

import org.aspectj.lang.ProceedingJoinPoint;
import org.aspectj.lang.annotation.Around;
import org.aspectj.lang.annotation.Aspect;
import org.springframework.stereotype.Component;

@Aspect
@Component
public class OwnerAspect {

	@Around("execution(* com.kh.aop.pet.*.bark())")
	public String barkAdvice(ProceedingJoinPoint jp) {
		String result = null;

		try {
			// before
			System.out.println("짖어보렴~");

			result = (String) jp.proceed();

			// after returning
			System.out.println(result);
			System.out.println("잘했어~");

		} catch (Throwable e) {
			// after throwing (예외발생시)
			System.out.println("왜 안짖니?");
		}

		return result;
	}
}
테스트 통과된다.


예외도 발생시켜서 테스트 진행 시 예외도 잘 발생된다.
- 어노테이션을 활용해서 특정한 어노테이션이 메소드에 붙어있을 시에만 advice실행시키는 실습


com.kh.aop에 annotation 생성
package com.kh.aop.annotation;

import java.lang.annotation.ElementType;
import java.lang.annotation.Retention;
import java.lang.annotation.RetentionPolicy;
import java.lang.annotation.Target;

// 어노테이션이 붙을 수 있는(적용할 수 있는) 타겟(배열 형태로 넘겨줌)
@Target({ElementType.METHOD, ElementType.TYPE})
// 유효범위 (실행이 되도 유지가 될 수 있게 RUNTIME을 붙여줌)
@Retention(RetentionPolicy.RUNTIME)
public @interface NoLogging {

}
method에만 허용, 클래스에도 붙여주고 싶다면 class를 뒤에 추가시켜주면 된다.

Cat.java에 @NoLogging 어노테이션을 붙여줬다.
그리고 OwnerAspect.java에서 NoLogging annotation이 포함 안 된 advice를 실행시키는 Around 어노테이션 작성
-> 포인트컷 디테일하게 지정 가능
@Around("execution(* com.kh.aop.pet.*.bark()) && !@annotation(com.kh.aop.annotation.NoLogging)")
cat에 NoLogging이 붙어있고, dog에는 안 붙어 있기 때문에 dog가 실행 될 것임

package com.kh.aop.annotation;

import java.lang.annotation.ElementType;
import java.lang.annotation.Retention;
import java.lang.annotation.RetentionPolicy;
import java.lang.annotation.Target;

/*
 * Annotation
 * 	- JDK5부터 추가된 기능으로 자바 코드에 추가적인 정보를 제공하는 메타데이터(데이터를 설명하는 데이터)이다.
 * 	- 비즈니스 로직에 영향을 주지는 않지만 컴파일 과정에서 유효성 체크, 코드를 어떻게 컴파일하고 처리할지 알려주는 정보를 제공한다.
 * 	- 어노테이션을 클래스, 메소드, 변수, 매개변수 등에 추가할 수 있다.
 *
 */

// 어노테이션이 붙을 수 있는(적용할 수 있는) 타겟(배열 형태로 넘겨줌) - 어노테이션을 적용할 위치(대상)를 지정
@Target({ElementType.METHOD, ElementType.TYPE})
// 유효범위 (실행이 되도 유지가 될 수 있게 RUNTIME을 붙여줌) - 어노테이션의 유효범위 지정 (어느 시점까지 영향을 미치는지 결정)
// RetentionPolicy.RUNTIME : 컴파일 이후에도 JVM에 의해서 참조가 가능하다.
// RetentionPolicy.CLASS : 컴파일러 클래스를 참조할 때까지 유효하다.
// RetentionPolicy.SOURCE : 코드상에서만 유효하다.
@Retention(RetentionPolicy.RUNTIME)

// @Inherited : 부모 클래스에서 어노테이션을 선언하면 자식클래스에도 상속된다.
//@Inherited
public @interface NoLogging {

}
어노테이션 정리
@Repeat()실습

package com.kh.aop.annotation;

import static java.lang.annotation.ElementType.METHOD;
import static java.lang.annotation.RetentionPolicy.RUNTIME;

import java.lang.annotation.Retention;
import java.lang.annotation.Target;

@Retention(RUNTIME)
@Target(METHOD)
public @interface Repeat {

}
@Repeat이 붙어있는 Joinpoint만 대상이 될 수 있게 하기
OwnerAspect.java
	// Repeat 어노테이션이 붙은 메소드만 실행된다.
	@Around("@annotation(com.kh.aop.annotation.Repeat)")
	public String barkAdvice(ProceedingJoinPoint jp) {
		String result = null;
		MethodSignature signature = (MethodSignature)jp.getSignature();
		Repeat repeat = signature.getMethod().getAnnotation(Repeat.class);

//		System.out.println(repeat);
//		System.out.println(repeat.count());

		try {
			// before
			System.out.println("짖어보렴~");

			// proceed를 통해서 실제 타겟 메소드가 호출된다.
			result = (String) jp.proceed();

			for (int i = 0; i < repeat.count(); i++) {
				System.out.println(result);
			}

			// after returning
//			System.out.println(result);
//			System.out.println("잘했어~");

		} catch (Throwable e) {
			// after throwing (예외발생시)
			System.out.println("왜 안짖니?");
		}

		return result;
	}
Repeat.java

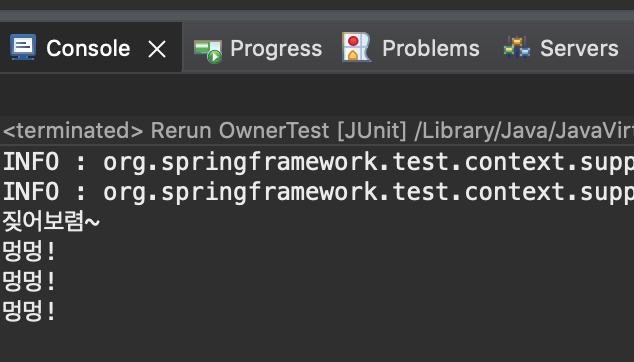
테스트도 잘 통과하는 것을 확인할 수 있다.
- 프로젝트 템플릿 수정

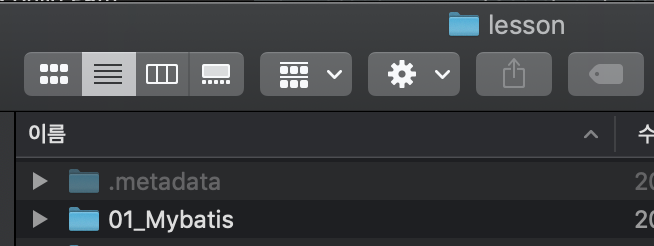

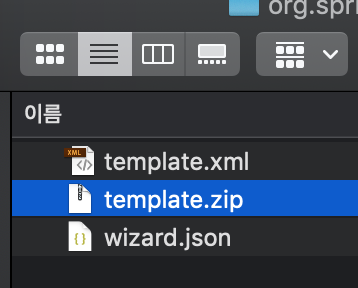
아무 프로젝트의 properties -> Resource -> Location -> .metadata(숨김폴더) -> sts -> contents -> template.zip파일을 가지고 프로젝트의 기본 틀로 사용한다.


압축 풀어주기 -> 안에 내용들을 변경해주면 기본 설정을 매번 바꿔주지 않아도 된다.

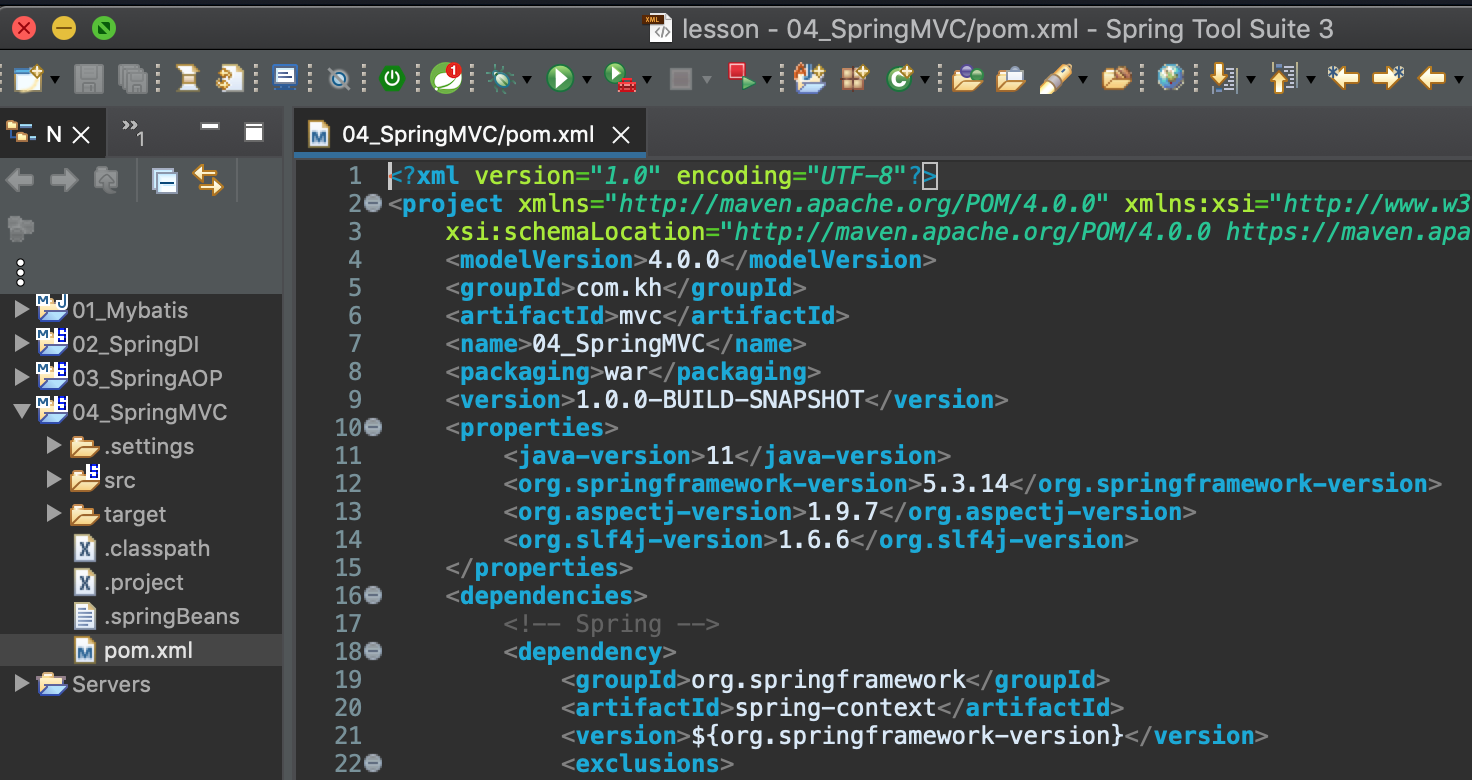
그리고 lib 폴더도 붙여 넣어줬다.
그 다음 인코딩 설정(필터)을 해주기 위해 web.xml 설정
이 때 주의할 점은 설정파일들에 있는 한글 주석들은 오류가 발생할 수 있기 때문에 지워줘야 한다. (영문 주석은 가능!)
-> 그리고 기존 template.zip을 template_old.zip으로 만들어 준뒤, 새로 설정한 설정폴더들을 zip파일을 만들어 준뒤 새롭게 Spring Legacy Project를 만들어 주면 새롭게 만들어준 template가 적용되어 들어간 것을 확인할 수 있었다.

Run on server도 잘 돌아가는 것도 확인할 수 있었다.
'국비지원_Java > Java Programming_2' 카테고리의 다른 글
| 자바 프로그래밍_Day_108_로그인, 로그아웃, 회원가입 구현 (0) | 2022.02.18 |
|---|---|
| 자바 프로그래밍_Day_107_Spring MVC, mybatis 연동 (0) | 2022.02.15 |
| 자바 프로그래밍_Day_105_Spring AOP (0) | 2022.02.02 |
| 자바 프로그래밍_Day_104_Spring DI / AOP (0) | 2022.01.31 |
| 자바 프로그래밍_Day_103_Spring DI (0) | 2022.01.27 |


